Do you remember your first quilt? What design did you make? Was it complicated with a lot of pieces, or was it simple and easy to complete?
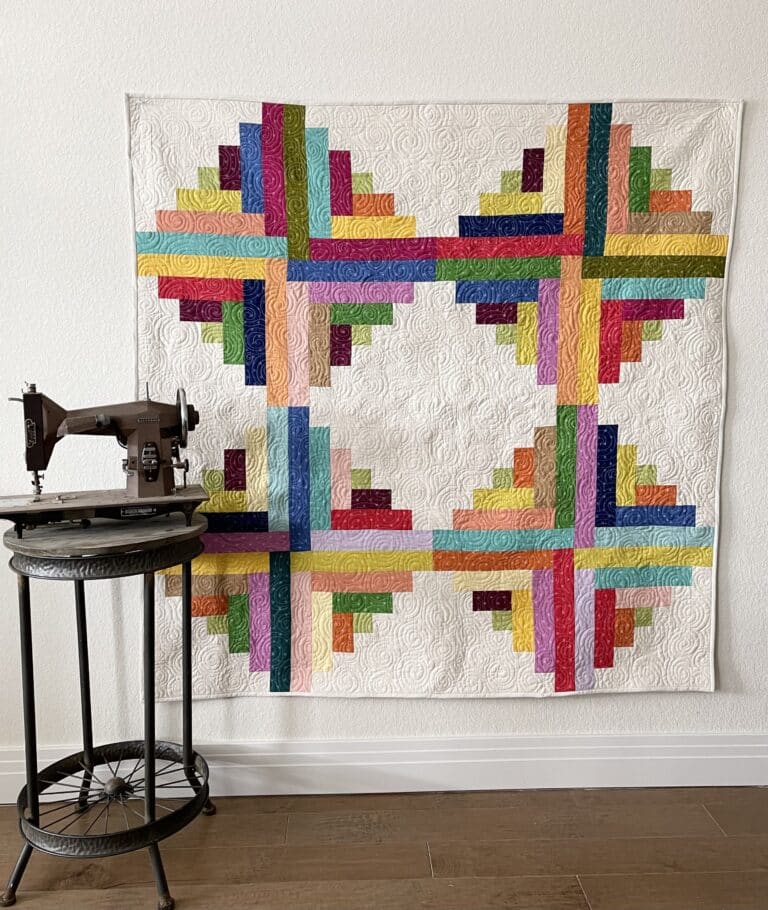
Although my very first quilt was a sampler, I think log cabin blocks were my favorite to make. After I made one log cabin and discovered how easy it was, I was hooked, and I made several. The best part about log cabin blocks is you can make so many design variations from the same block.
The log cabin dates back to the late 19th century. In the days of the pioneer woman, she often designed quilt blocks to represent what was seen in nature and everyday life. The settlers lived in cabins constructed of logs, so it is no surprise how this block came to be.
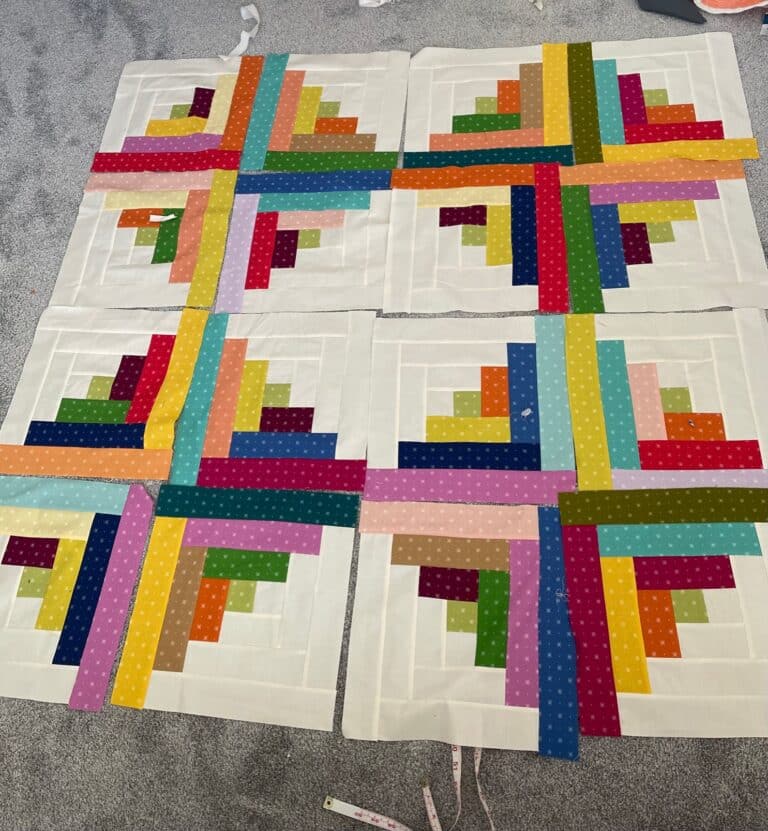
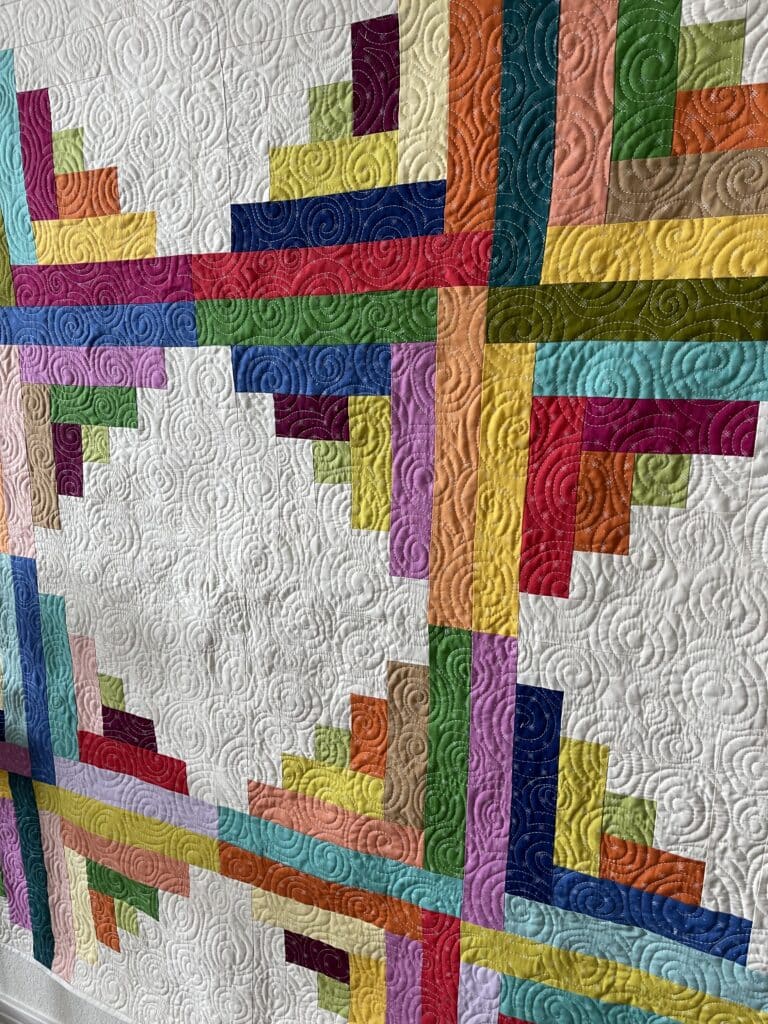
The log cabin is made up of a center square, surrounded by additional strips worked in rounds. Light on one side, dark on the other. The center square was oftentimes red fabric, to represent the hearth of the home. Today, quilters have taken log cabin quilts to new heights with modern designs and vibrant colors.
I designed this Cabin Time quilt for Baby Lock and you can download the free pattern from their website HERE.
A few tips when making log cabin blocks.
1) Remember which direction you are building your block. The Cabin Time block is built in a clockwise manner.
2) Organize your cut strips so they are in stacks by size ““ dark and light. This will make it easier to chain piece.
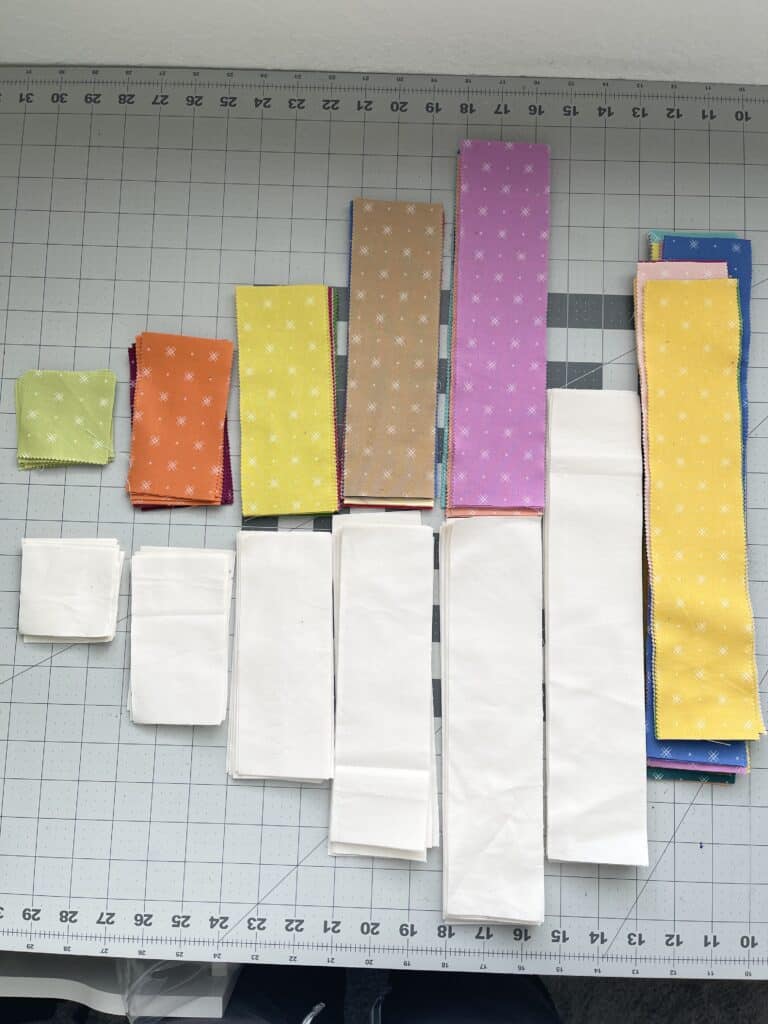
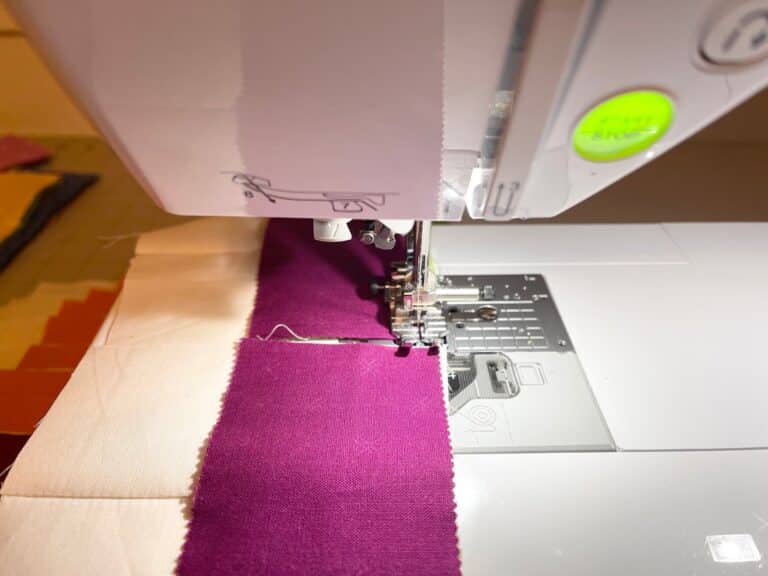
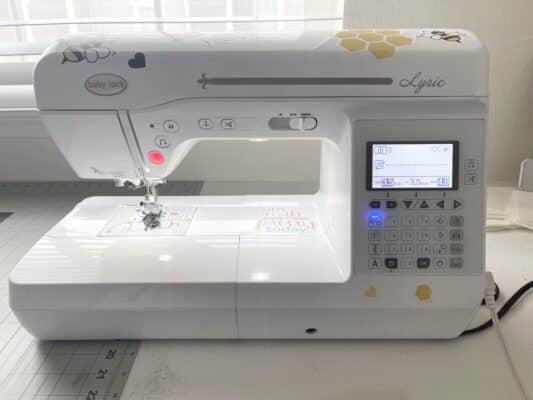
3) Keep a consistent ¼” seam allowance. I suggest using the ¼” quilting foot. Align the block with the right side edge of the quilting foot.
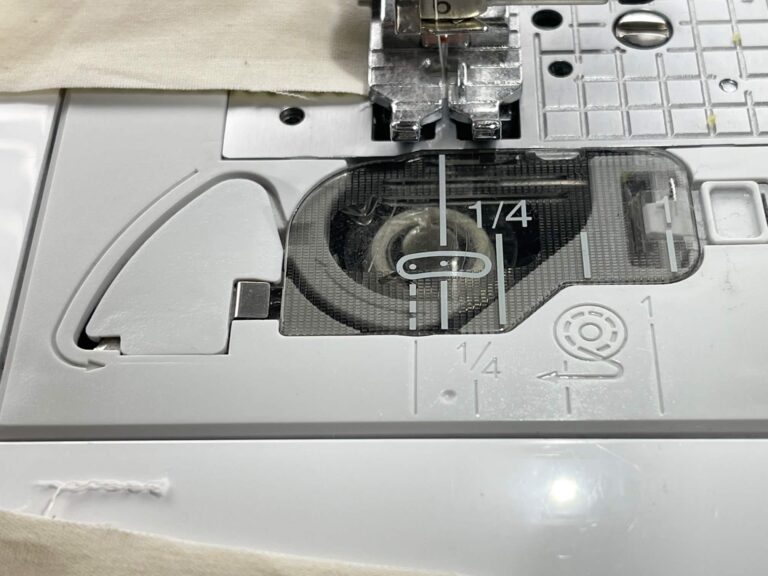
Alternatively, if you do not have the quilting foot, look at the bobbin cover plate on your machine. Here is how mine looks on the Baby Lock Lyric. There is a ¼” marking in white to help you keep a consistent seam line while stitching.
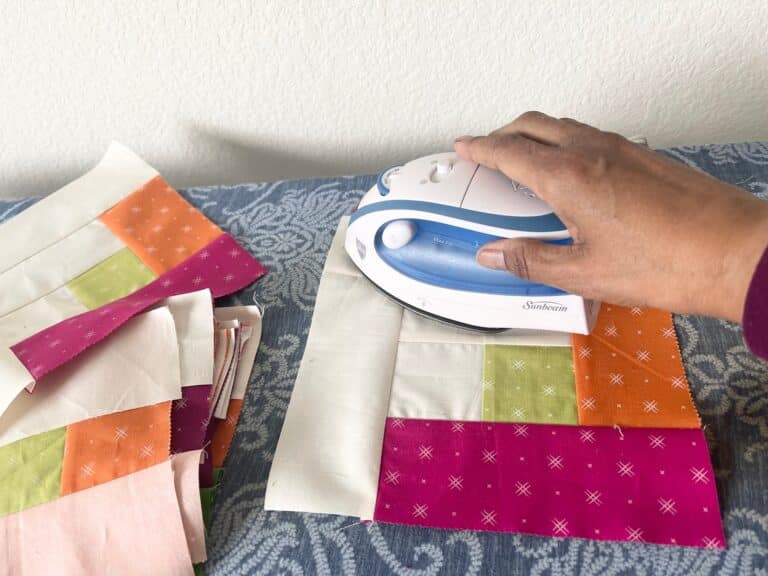
4) When ironing, gently press your blocks. Do not tug or force the iron really hard across your block. This will causes your block to become distorted, and your seams will become curved.
5) Don’t get too stressed out with color placement. Once you have your blocks completed, lay them out according to the pattern instructions, Ensure no two identical colors are touching.
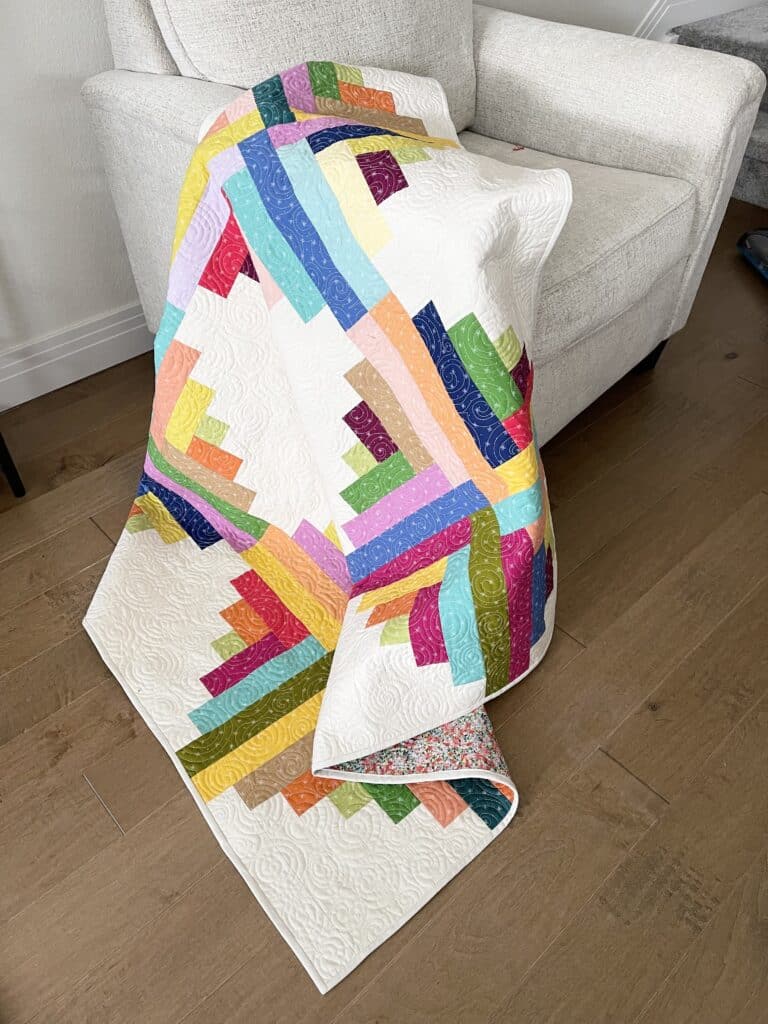
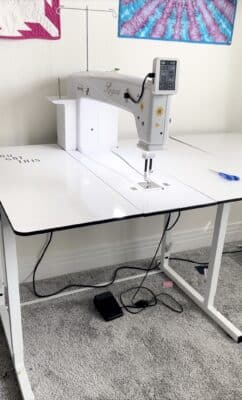
My favorite part of the process, besides piecing, is the actual free motion quilting. I love spiral designs on just about any quilt. For this, I went to my Baby Lock Regent and started quilting large spirals. I didn’t want anything to dense, so I made sure to make my spirals pretty large. Whatever you decide to quilt is up to you.
This project was pieced using the Baby Lock Lyric. Quilting was done using the Baby Lock Regent.
Straight line stitching on your domestic or something more intricate on a longarm ““ will all look good to finish your quilt. I hope you enjoy making this pattern. I think I’m going to make another one!
Happy Quilting,
Mary